
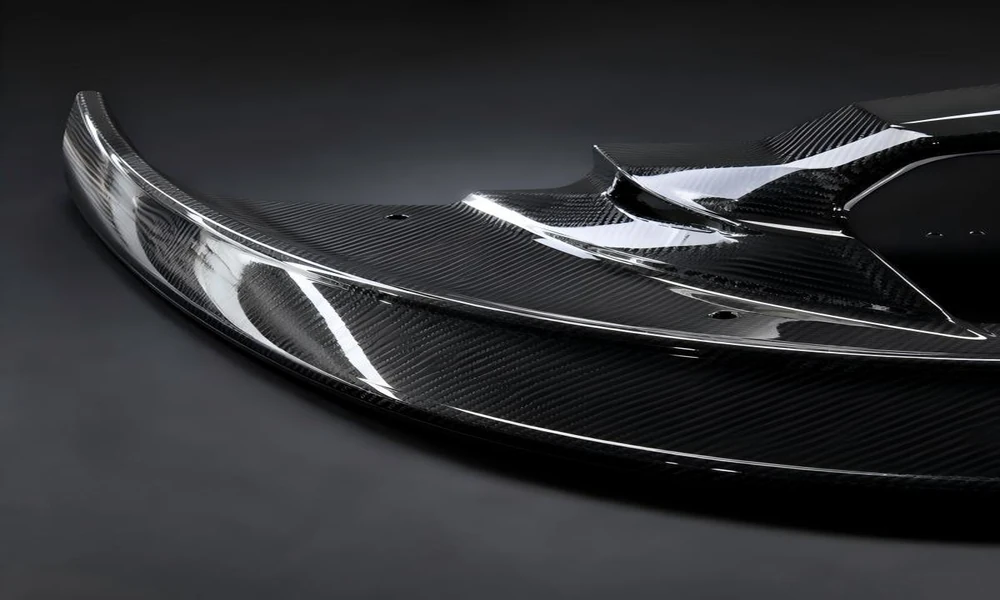
Every zone of the car has its own light, its own job, its own finish.
Nobody buys every carbon part at once. Builds happen piece by piece, and that is exactly how coherent cars turn into parts collections: each piece was chosen alone. The fix is a map. Different zones of the car live in different light, take different abuse, and play different visual roles. Here is the zone-by-zone guide to choosing finishes and colors that work together before you spend the money.
The Hood: the Main Character
The hood is the largest carbon canvas most builds will ever have, and it sets the tone for everything else. Gloss here reads classic and deep; matte reads track-bred and serious. Whatever you choose becomes the reference the rest of the car has to answer to, so choose it first and choose it for the whole car, not for the photo that sold you. The full finish families and how they are made are laid out in the carbon fiber color guide.
The Front End: Splitters and Lips
The lowest, meanest zone of the car. Splitters live in permanent shadow and permanent danger. Steep driveways, parking blocks, road debris. Style-wise, this is the zone where carbon is nearly invisible as a color statement, reading as darkness under the bumper, so finish choice barely matters visually. What matters is material behavior in the strike zone, which is why many builders run carbon Kevlar hybrids down here and save the show-quality pieces for higher ground.
Mirrors, Handles, and Trim: the Jewelry
Small accent pieces are where experimentation is cheap and coherence is fragile. Mirror caps in gloss carbon suit almost anything. This is also the natural home for colored hybrids or tinted resin if you want a flash of color. Small enough to read as a detail, not a decision. The one rule: accents should match the finish family of the big pieces. Gloss jewelry with a matte hood looks like two different builds sharing a car.
The Roof and Pillars: the Stealth Zone
Roof panels and pillar trims sit in the sky’s light and read as part of the glasshouse. Carbon here continues the windshield’s dark band and makes the cabin look lower and longer. The cheapest visual mod in the catalog, in effect if not in price. Gloss is the natural choice since it sits visually next to glass; matte on the roof beside glossy glass draws the wrong kind of attention.
The Rear: Spoilers, Diffusers, and the Money Shot
The rear of the car is what other drivers actually see, and it tolerates drama better than the front. A wing in forged carbon or a diffuser with a bold weave works here because the rear is already the busiest visual zone. Diffusers also live half in shadow like splitters, so finish choice is forgiving. Wings sit high in the light, so give them the same finish as the hood. They are the two bookends of the car, and mismatched bookends are the first thing a trained eye catches.
The Interior: a Different Game Entirely
Inside, the rules invert. Gloss carbon creates dashboard reflections on the windshield, a genuine annoyance on sunny days, so matte and satin rule interiors for functional reasons, not fashion. Small pieces work better than large ones; a carbon shift surround delights, a full carbon dashboard overwhelms. And interior parts live in UV-filtered light and air conditioning, so even modest-quality pieces age gracefully. Save your finish anxiety for the outside of the car.
Balance Front to Back
A map has a second dimension beyond zones: visual weight. Carbon pieces carry mass in the eye, and they need to balance. A carbon front lip alone makes a car look nose-heavy and unfinished, the classic one-mod look. Add the rear diffuser or spoiler and the car settles. Mirror caps or side skirts connect the two ends along the way. If the build stalls mid-plan, it should stall at a balanced point: both ends or neither. An unbalanced build advertises itself as in-progress; a balanced one reads as a decision.
The Order of Purchases
The map also suggests a buying sequence. Start with the hood or the largest piece you plan. It is the reference everything else must match. Add the rear pieces second, because the two ends of the car should agree before the middle joins in. Fill in accents and trim last, when you can see exactly what the build is missing. Builds done in this order look designed. Builds done in impulse order look assembled.
The Map in One Line
Hood and wings: matching finish, chosen first. Low strike zones: function over finish. Accents: small experiments in the same family. Roof: gloss, next to glass. Interior: matte or satin, small doses. Draw that map before the first purchase and every box that arrives will look like it belongs, because it does.

Comments are closed.